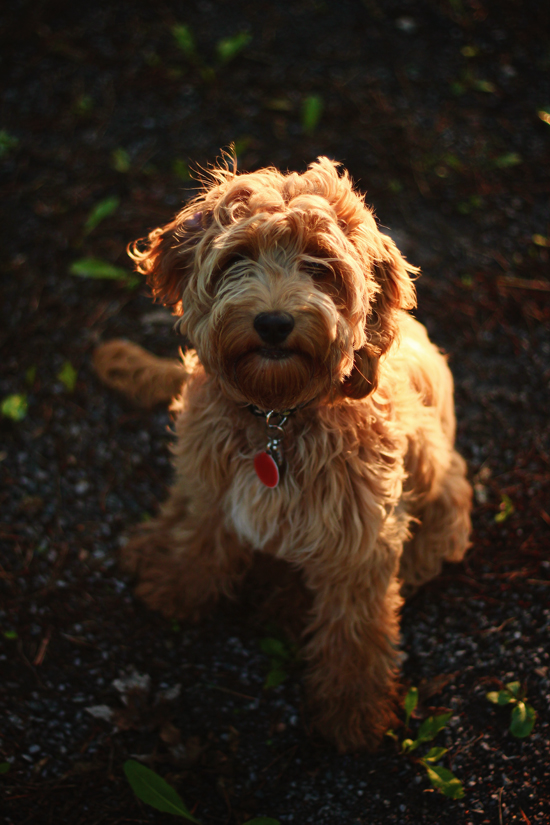
 I cannot believe Lucy is almost 6-months-old! She will be having her spay operation at the beginning of next month and I thought it might be helpful to share some tips about what I learned from Rory’s experience and how to prepare for the recovery process.
1) Take time off work
Trust me, you’ll need it. Your dog’s first night home after their operation they will be coming out of anaesthesia still and shaking off its side effects, which means you will be up all night with them. When Rory went through this she would – not – lay – still. She would be fine one moment then madly dashing in a crooked line the next, running into things and generally thrashing around.
Your job is to keep them as still as possible, so this (for me) meant camping on the living room floor, keeping a hand on the pup at all times. You’ll be too tired to work the next day, so book it off.*
*some vets will say it is okay to put your dog in its crate and leave it be, as there isn’t much space for them to move about in. But Rory would thrash about in her crate so I deemed it better to sit up with her personally all night.
2) Have a flat bed prepared
A large, flat dog bed is best for a pup recovering from a spay operation, because it lets them stretch out and find what will look like an awkward, but ultimately comfortable position. Those donut shaped beds won’t do. Rory hated hers and instead opted for one of the pillows from my bed on the floor to stretch out on. This time I have the EZ Home Living HoneyComb Pillow Bed ready for Lucy. It is by far an awesome dog bed for such an occasion.
3) Keep the cone on a little longer than required
Typically, most dogs are required to wear the cone for two weeks to allow their stitches to heal. Then it can come off and the theory is that the incision area won’t be annoying to them any longer. Not Miss Rory. The cone came off at two weeks and within two minutes she had tugged at her stitches, so she had to wear it for over a month! This time, Lucy will be wearing her cone for three weeks… regardless of how her stitches are doing, just to be sure it heals speedily.
4) Have an assortment of toys
Chances are your pup won’t feel like running around much the first day or two after their surgery, so to starve off boredom have a nice selection of chew toys and plushies for them to play with. New toys will definitely help hold their attention while they are on bedrest.
5) Wrap the edge of the cone
When Rory was charging around in her cone, she had the unfortunate habit of jamming into things with her cone… specifically bare legs. And it hurt! To counter this unavoidable situation try carefully covering the sharp edge of the cone with some duct tape. It will create a buffer of sorts between the plastic and bare skin! Just be sure the tape is well stuck and doesn’t drop into your dog’s cone by accident.
6) Attach the cone to your dog’s collar
For some reason, most vets will put a cone on a dog using a bit of white cloth to tie it around the neck. If your dogs are anything like mine they will wriggle their way out of that in a flash. Rory certainly did (hmm… perhaps it is her terrier side?) Instead, lace your dog’s collar through the cone ‘loops’ to securely fasten it around your dog’s neck. Providing your dog cannot slip its collar, there is no way she is getting out of it, meaning the stitches are safe!
*of course, be sure to always consult in detail with your vet when preparing for your dog’s spay, or any, operation. The above is not meant to replace medical advice from a certified veterinarian. This article is merely observations based upon my own personal experience with my dogs.
Laura – have you ever tried one of these inflatable cones? They seem more comfortable, and I think they would still do the trick for an abdominal incision: http://www.amazon.com/s?ie=UTF8&page=1&rh=i%3Aaps%2Ck%3Ainflatable%20dog%20cone
Hi Mary Lou!
I had never heard of these before your comment — thank you so much for telling us about them. Truly amazing! In fact, we featured this item in our ‘Things We Adore’ section because it is so clever! xo