 Any pet parent loves having beautiful photographs of their furkid. But if you’re looking to step up your family photo album from Instagram and your smartphone pics only, we have a treat for you today!
I rounded up eight of my all-time favourite pet photographers and asked them to share their best tip for taking better pet photographs. Here are the results:
DANA CUBBAGE PHOTOGRAPHY
TIP #1: Be mindful of your perspective
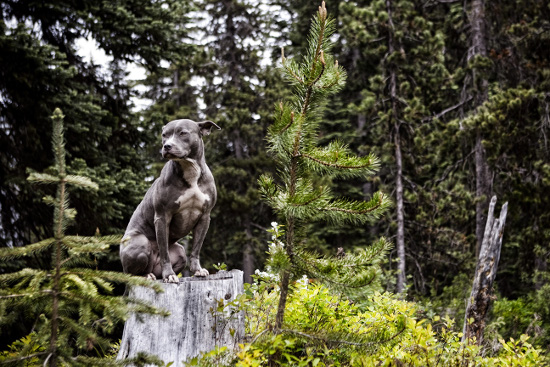
 In order to capture a unique and playful image of your pet, getting down on their level is super important. This can be easier said than done, especially when you’re trying to photograph a small dog! If I can’t get low enough by simply squatting or laying down on my belly during a photo session, I’ll use a technique called ‘shooting from the hip.’
This basically means that you are shooting without actually looking through the viewfinder in your camera. It’s a tricky technique to master and it takes a LOT of practice. You’ll get a lot of out of focus shots at first, but with practice, you’ll start to see some really fun expressions and compositions that you might not have gotten deliberately. I call them “happy accidents.”
To be a little more technical: When shooting from the hip, I choose a focal point based on where my subjects’ eyes are in relation to the position of my camera. I stop down my aperture to f/4 or f/5.6 to help get more of the photo in focus and from there, I adjust my settings to create the correct exposure. Then, I just start shooting while holding my camera down close to the ground in front of the pet’s face. Wide angle lenses are especially good for this shooting style. I often check the back of my camera as I go, to see what I’m getting. I’ll adjust my focal point if needed and just shoot until I get something I love.
SIMONE FAUQUE PET PHOTOGRAPHY
TIP #2: Embrace simple compositions
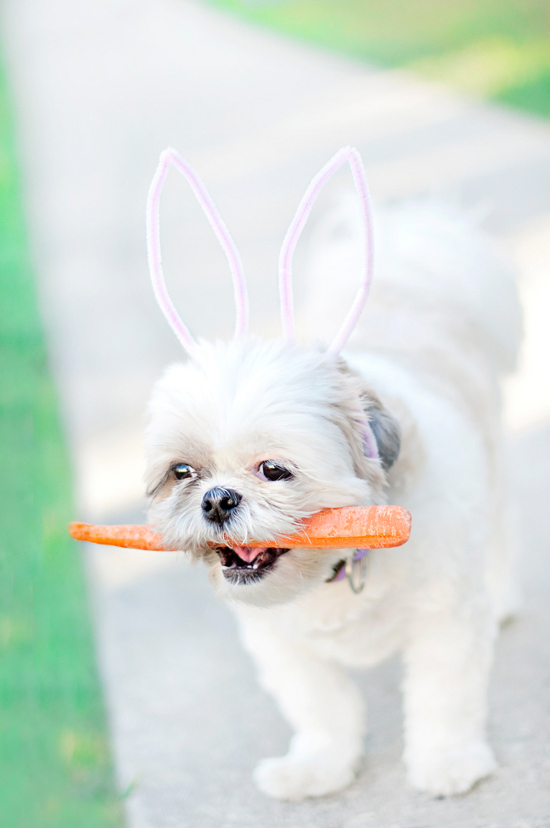
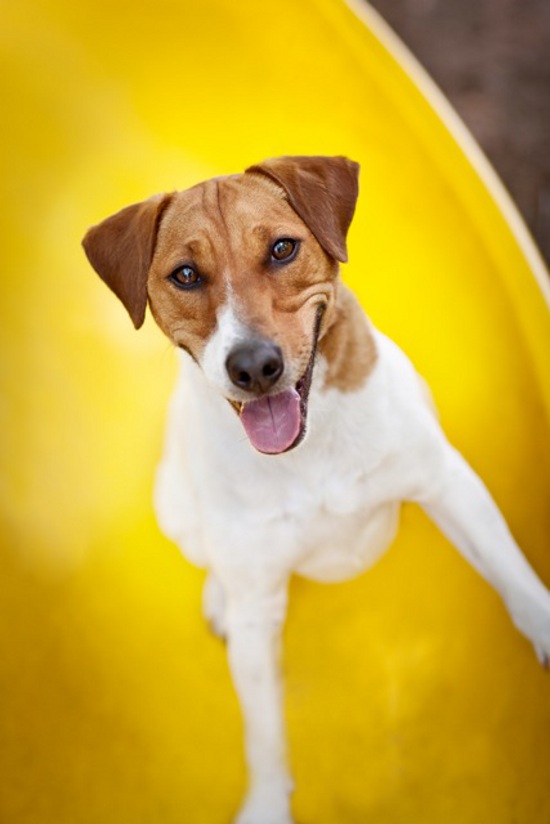 Keep it simple and avoid distracting objects in the background. I personally love finding bold colours that compliment the animals coat (in this photo Jack is on a slide of all things!)
POSH PETS PHOTOGRAPHY
TIP #3: Embrace your pet’s energy
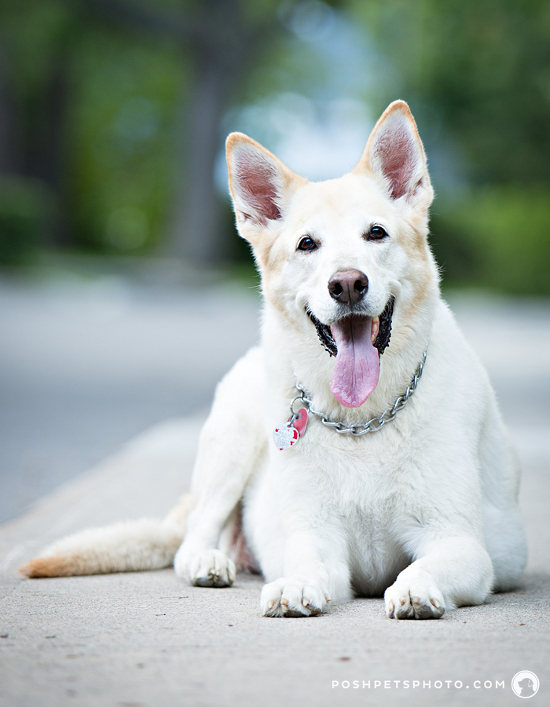
 I hear this a lot: “My dog will be impossible to photograph – he/she never sits still.” And yet, by the end of their session we have created beautiful portraits. So, how does this professional dog photographer do it?
Well (and this is going to seem overly simple), here is the secret: work with the energy of your dog. Please don’t fight their current state – it is frustrating for them and you. Allow me to explain what I mean…
I have no doubt that your dog sleeps at some point in any 24-hour period. What is his energy level just before he dozes off? Simply put, he is tired. And just before he realizes he is tired, he is probably at one of the calmest points of his day. Calm is good for beautiful portraiture. So, if you want images of your dog sitting peacefully and at rest, well, you either have to catch him at that calm point of his cycle (not always ideal for bringing out your camera) or you have to find a way to create the circumstances at the time of day you choose. In other words, you will have to find a way to take the edge off of his energy and tire him or her out a bit.
 In practice, I ask all of my clients to give their dog a nice walk before our session begins. Not to exhaust them, but to burn off the nervous energy. However, it does happen occasionally that a client forgets. And each week at the shelter where I volunteer, there simply isn’t the staff or the time to walk them before I arrive.
What do I do then? I make a game out of it! I throw a ball and let them run around like lunatics. During this time of play, I get gorgeous running shots, jumps, catches and basically images of the dog having a whale of a time. They are fun and spontaneous images that clients love and, if they have a usually energetic dog, images that capture the essence of who they are.
So, how do you capture great images of your dog? Have fun. Run around. Make a fool of yourself. Make it fun for you and your dog, and you will be rewarded with great images.
MICHAEL BRIAN PHOTOGRAPHY
TIP #4: Understand the dog’s behaviour
 Maybe the most important aspect to shooting dogs is to understand “dog behaviour,” like really understanding how to speak with them (not the high pitched baby voice), and knowing what makes them tick.
Give yourself ample time to get to know the dog you are about to photograph — feel them out, so to speak. Spend some time chillin’ and talking with their parents. Survey the landscape and see what you’ve got to work with. During this process you can start to determine how you might portray the dog, whether it will be in a moody sensual setting or a more humorous light if the dog has a somewhat comical personality.
At this time you can also be thinking about color palettes, backgrounds or possible lens choices to set the tone. You may be surprised to hear that I more or less “wing it” on dog shoots. I may have some very basic ideas of what might take place, but more times than not I allow the dogs to show me the way… they always know best.
CHIC SPRINKLES
TIP #5: Understand natural light
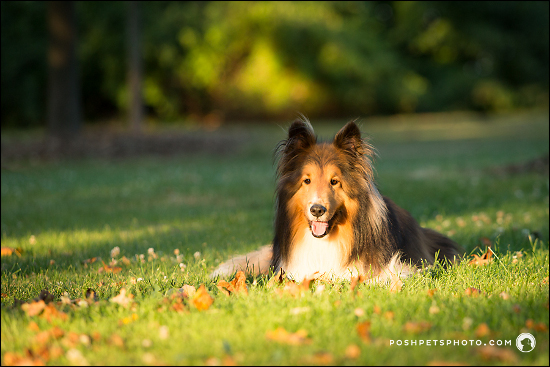
 I’m a little obsessed with natural light. From lots of big windows in your home, to soaking up a little sun while walking outside, natural light just makes you feel good – especially when it comes to photography! I love to shoot in light, soft, and airy settings.
I feel happier when taking the photos, and my fur models look happier too. And who doesn’t love a happy expression on a dog? That’s what I thought! Lighting is everything when trying to set a mood and goal reaction for a photo. If you are interested in achieving brighter look, it is easier than you may think.
When shooting outdoors: No matter the time of day, as long as there is still daylight you can achieve bright and airy images. If there is a lot of direct sunlight, find a shady spot. Trees come in handy on sunny afternoons and provide the perfect amount of shade for photos. If you’re shooting on an overcast day then the world is your oyster. Sometimes cloudy days produce the prettiest images!
Experiment and explore which lighting styles fit you best, and most importantly just have fun with it. When it comes to photography, mistakes and blunders help you learn and that’s never a bad thing!
ALLISON SHAMRELL PHOTOGRAPHY
TIP #6: Get the owners involved
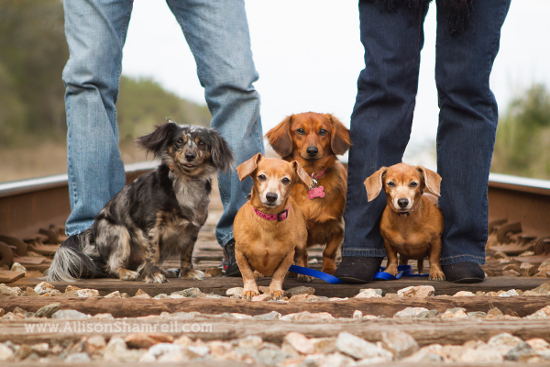
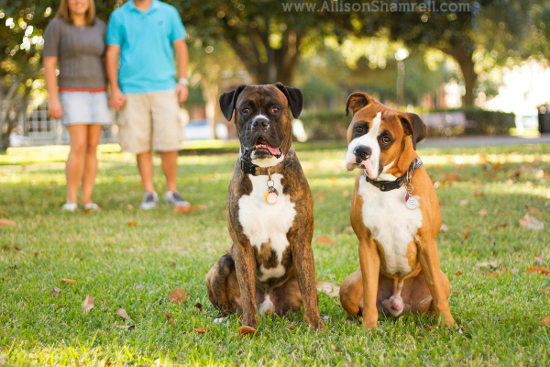 Working with multiple dogs in one photo can be tricky, since pets typically don’t line up and sit together naturally (unless it’s treat time!) So I’ll usually get my clients involved, and tell them to calmly pet and soothe their dogs once they’re in the position we want. It may take ten seconds or ten minutes, but if the dogs can calm down and get used to sitting/laying together, they’re much less likely to hop up and make a break for it!
 Their owners will typically move away at the last second, and at that point I’ve got to be quick on the shutter to get the shot. As always, the more obedience a dog knows (especially the “stay” command), the better, and the easier the photographer’s job becomes.
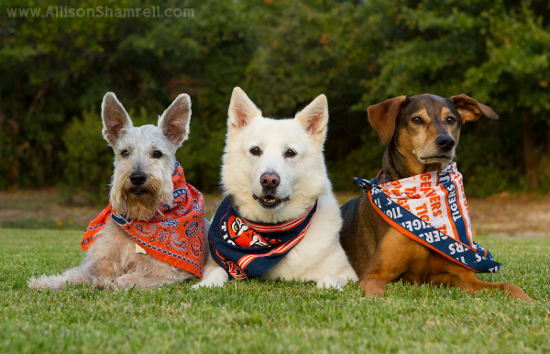 But in general, I love working with multiple dogs at once; the more personalities there are in a single photograph oftentimes make it all the more engaging!
ELIZABETH & JANE PHOTOGRAPHY
TIP #7: How to shoot indoors
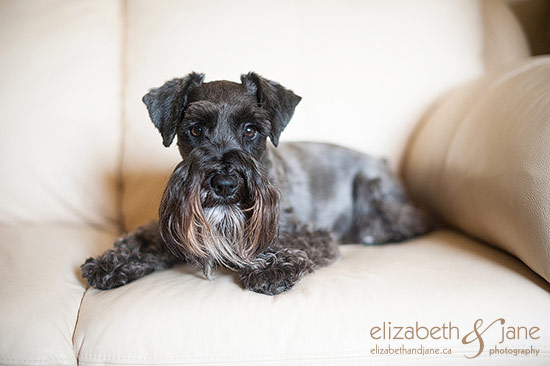
 The first thing you will want to do is turn off your flash. The way that the flash from your camera interacts with pet’s eyes is to create a not-so-lovely greenish glow that kind of makes the pet look a bit possessed.
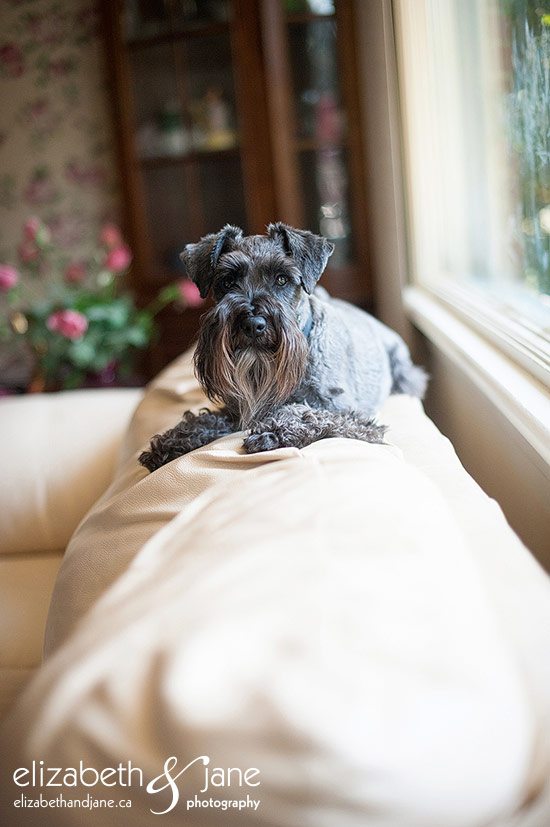
Walk around your house and find a room that has a nice window that is letting in a lot of natural light. The day doesn’t have to be super bright, but definitely do this during the day. With non-DSLR cameras, the best way to photograph is to either side light, or front light your pet. Side light means that the window is to the left or right of your pet and front light means that the window is in front of them.
Once you have found your light, the next step is to bring in your pet. If your pet is small, or a baby, bring a chair and stick them in it to contain them. Try to hold their attention with a treat and snap away. Good luck!
BARK PET PHOTOGRAPHY
TIP #8: Get your dog used to the camera
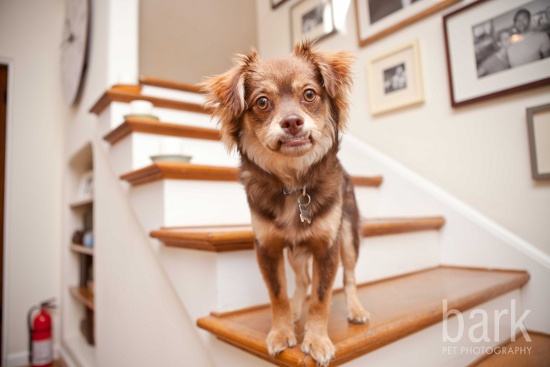 If your dog is afraid of the camera and high-tails it when you point it in his direction, don’t fret; you just have to start slowly. Your goal is to help him build up confidence and feel secure around the camera. It takes time, but together, you two can overcome this!
1. Sit on the floor with your camera in your lap and allow your dog to approach at his own pace. Talk in a happy but soothing voice and praise him as he moves towards you.
2. When he’s close enough, give him treats and let him sniff your camera while it’s in your lap and give him more treats.
3. Raise the camera a few inches off of your lap very slowly while watching how he responds. If he backs up in fear, you’ve probably raised the camera too high or too fast on your first try, so work in smaller increments. Each time you raise the camera and your dog stays near or moves closer to investigate, praise and treat him.
4. Continue to raise your camera in very slow increments, while rewarding him at each stage, until the camera’s high enough to look through the viewfinder.
5. Once you’re able to raise your camera without him running away, press your shutter release, give him a treat, and then rest. Pet and reassure him, and then repeat. Keep it slow and stay tuned to how he’s reacting–he’ll always let you know if you’re moving too fast.
6. If he runs away and doesn’t come back, abandon the activity for now and revisit it later. For some dogs, it can take a few tries over a few days or weeks. But it’s just like anything –eventually, he’ll learn that the camera is something positive.
PAWSH STUIO (yours truly)
TIP #9: Keep props simple
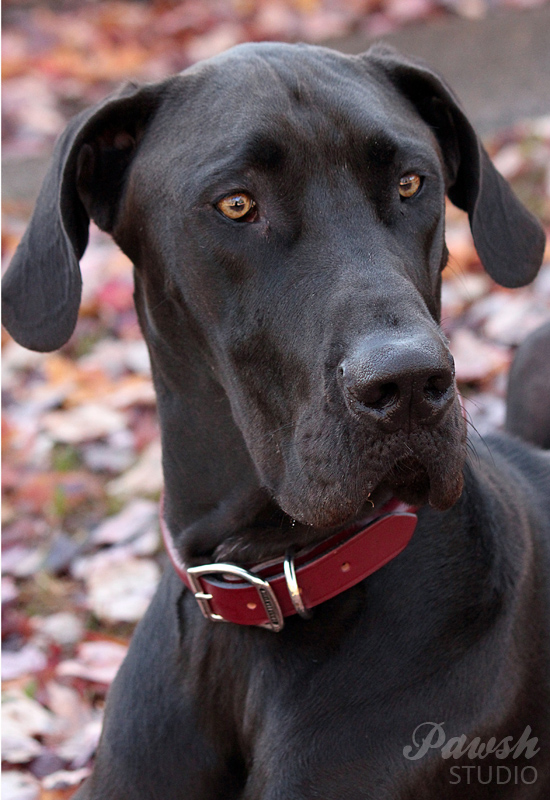
 Sometimes, to add interest or colour to a photograph, it is fun to use props when photographing your pet. Well chosen props can emphasize your dog’s character and give them something to do while ‘on’ for the camera, resulting in more whimsical and engaging photographs.
However, in order for proper prop usage to be successful on a shoot, I always recommend keeping it simple. There is something to be said for ‘less is best.’ If you have too many things happening on set at once, the dog can get frazzled or disinterested in everything and the photograph can end up looking cluttered and not at all stylized.
Instead choose one (or at the very maximum, two) props per photograph. Choose items that are proportional to your dog, brightly coloured and interesting to look at. For example, a brightly coloured ball, a string of pearls or a pretty pair of shoes all make excellent props. Also, keep in mind, props used during dog photoshoots should be safe for the animal to interact with and closely supervised at all times — just in case!
Allow your dog to interact naturally with the prop and don’t force the interaction by trying to pose your dog. Their natural curiosity will lead the photograph.
***
Happy photographing everyone!
PAWSH PERK: 7 tips for taking better pet Instagram photos
This was a very interesting article with lots of great tips to help dog owners improve the images they are sure to enjoy for years to come.